Every Boss in The Blood of Dawnwalker & How to Beat Them
Welcome to our dawnwalker boss guide for The Blood of Dawnwalker, with strategies compiled from published guides and gameplay footage. Sources are cited so you can check them yourself, and anything the checked sources do not document is marked as such.
The Blood of Dawnwalker launched September 3, 2026. This page lists every confirmed boss in the game and is updated as the community tests fights — check the date stamps above each fight. Treat the list as a launch-week reference, not as a promise that every encounter has been fully documented.
All Confirmed Bosses So Far
The table below lists every boss covered in this dawnwalker boss guide — we add each strategy after checking source-cited gameplay footage.
This dawnwalker boss guide keeps a careful distinction between a reported name and a tested fight. The names below are compiled from early wiki and press coverage as of launch week. Fight stats, attack patterns, phases, and reward tables appear only where a checked source documents them.
Prologue guide published; later-fight details not yet documented by checked sources
Xanthe, the Dark Mistress
Vampire officer of Vale Sangora
Source-cited guide published (September 7, 2026)
Ambrus
Right Fist of the Knyaz
Video-tested guide published
Bakir
Vampire officer of Vale Sangora
Source-cited guide published (September 5, 2026)
Almshouse Monstrosity
Mini-boss
Source-cited guide published (September 7, 2026)
Mihai
Patron Saint of the Cathedral
Source-cited guide published (September 7, 2026)
Boss names above are compiled from early wiki and press coverage as of launch week and may contain spoilers for the story setup. Fight stats, attack patterns and reward tables appear only where a checked source documents them.
Boss Fight Tips (General, applies to every fight)
Before the individual breakdowns, here are general tips that apply to every fight in this dawnwalker boss guide.
Before every major encounter, read the calendar as part of the arena. This dawnwalker boss guide recommends entering a fight with enough time to recover, revisit an approach, or accept an unexpected story consequence. A rushed attempt can cost more than a defeat if it consumes the days you needed for another objective.
Manage the clock before you fight. Because the 30-day calendar drives the whole game, enter major fights rested and with spare days in case a boss forces you to retreat and re-approach.
Day vs night changes your toolkit. By day you rely on blocking and parrying; at night you have vampiric powers. If a fight lets you choose when to trigger it, pick the time of day that matches your build.
Watch your infamy. If you have been rampaging at night, guards and bounty hunters may interrupt an otherwise clean boss attempt.
Use the four-directional block system. Enemy attack directions matter — block the wrong angle and you eat the hit.
Not documented by the sources we checked The specific effect of each attack direction. Block the indicated angle; treat any directional-damage numbers you see elsewhere as unverified. Last updated: September 16, 2026
Keep your preparation simple: know whether you are approaching as a Swordsman, Predator, or Hybrid; make sure your chosen time of day supports that plan; and leave yourself an exit when the encounter allows one. For a sourced setup recommendation before choosing an encounter, see our The Blood of Dawnwalker best-build guide. The boss guides distinguish source-documented observations from clearly marked source gaps.
Boss Profiles (each with its sources linked)
Brencis, the Vampire Lord
Brencis is the ruler of the Vale Sangora vampires and the force behind the 30-day threat to Coen's family. He is the game's central antagonist, which gives his name a role beyond a single combat marker: he represents the pressure that turns the calendar into a strategic problem. His connection to Coen's family places him at the center of the story's personal stakes, while his position among the vampires gives the wider conflict a clear face.
The launch-week prologue encounter now has a dedicated, source-cited walkthrough: Can You Beat Brencis in the Prologue? It covers the opening fight, the Anachora true form, community-tested stance switching, and the special result without inventing damage or health values. Later-campaign strategy: no checked source documents this fight yet.
Not documented by the sources we checked Later-campaign fight details — no checked source shows this encounter outside the prologue. Last updated: September 16, 2026
Xanthe, the Dark Mistress
Source note: This account compares GameSpot, Game8, PC Gamer, Method, and Fextralife. Trigger requirements differ between publications; those accounts remain separate. Spoilers follow.
How to trigger
Xanthe belongs to Brencis's vampire court. Disrupting a boyar's operations raises their anger and unlocks their confrontation quest at maximum anger. Her quest, The Cycle of Love, leads to Howling Keep. (Source: GameSpot)
Method's requirement: Complete at least 12 of 15 associated side quests. Leonard then supplies Xanthe's Lantern; give it to the statue outside Howling Keep to open a route through the corruption. Solve the interior lantern puzzle to reach Chariklea; Xanthe interrupts their conversation and knocks Coen into the courtyard for the fight. (Source: Method)
Game8's different requirement: Its guide specifies at least 9 court quests, then separately instructs players to disrupt one more operation after angering Xanthe to make Leonard appear. (Source: Game8)
Branch preparation: Game8 says completing The Cycle of Love at night enables sparing, killing, draining, and the subsequent invitation; daytime completion prevents draining and inviting. (Source: Game8)
Fight breakdown
Three phases: Game8 describes three phases indicated by the health gauge. Dodge the ground incantations and perfect-block her tentacles. (Source: Game8)
Opening: Method describes a corrupted vine whip with substantial reach; blocking and dodging remain necessary even outside ordinary sword range. (Source: Method)
Wicked Tendrils: Hold block and follow each directional prompt. Blocking successive lashes briefly staggers Xanthe. (Source: GameSpot)
Boiling Blood / Blood Rush: GameSpot names the exploding ground glyphs Boiling Blood. During the last health segment, Blood Rush closes the gap before a close-range Boiling Blood attack. (Source: GameSpot) Create space and dodge beyond the glyph circles rather than trying to block them. (Source: Fextralife)
Prioritize the orbs: Immediately switch targets and destroy every blood orb when Xanthe starts siphoning them. Leaving them active lets her recover health; destroying them interrupts the siphon. (Source: Fextralife)
Later phases: Method describes a wide red-circle burst in phase two and explosive spectres in the final phase. Escape the marked area and time dodges against the approaching spectres. (Source: Method)
Branches and consequences
The decisions have prerequisites: draining enables the invitation rather than representing the same choice. (Source: Game8)
Kill without draining: Xanthe will not fight in the finale, but this choice prevents inviting her into Coen's mind. (Source: Game8)
Drain: This kills Xanthe, grants Blood Surge, and opens the invitation decision. (Source: Game8)
Decline the invitation: Blood Surge is retained even if Coen lets her perish after draining. (Source: Game8)
Invite her in: She supplies ongoing dialogue and briefly projects attacks during the Brencis battle. (Source: Game8)
Spare her physically: PC Gamer reports that an alliance removes Blood Guard encounters and her nightmare trap from the castle assault, and she meets Coen with advice. It also says she intends to continue sacrificing women to sustain Chariklea. (Source: PC Gamer)
Different descriptions of her assistance: Method says sparing or inviting Xanthe brings help through the finale's maze and against Brencis. (Source: Method) PC Gamer describes the spare route through avoided enemies, the skipped trap, and advice. These are the publications' respective accounts, not a claim that every route has identical benefits. (Source: PC Gamer)
Chariklea after Xanthe's death: Coen can leave her in the mansion or end her life. PC Gamer speculates that leaving her could result in starvation or the sustaining magic eventually failing; that eventual fate is the author's inference, not a demonstrated outcome. (Source: PC Gamer)
Not documented by the sources we checked The exact “Leave her in Anachora” / “Invite her to fuse” menu wording and scene-by-scene consequences. The Zanar video could be identified by title, but its branch scenes were not verified, so no video timestamps are asserted. Last updated: September 16, 2026
Loot and rewards
Drinking Xanthe's blood unlocks Blood Surge. (Source: PC Gamer) Method also reports boots named Vhakhir Treads in a chest in Chariklea's room, available regardless of the outcome. Its image caption uses a slightly different spelling, so the name here follows its body text. (Source: Method)
Source-cited update published September 7, 2026.
Ambrus, the Right Fist of the Knyaz
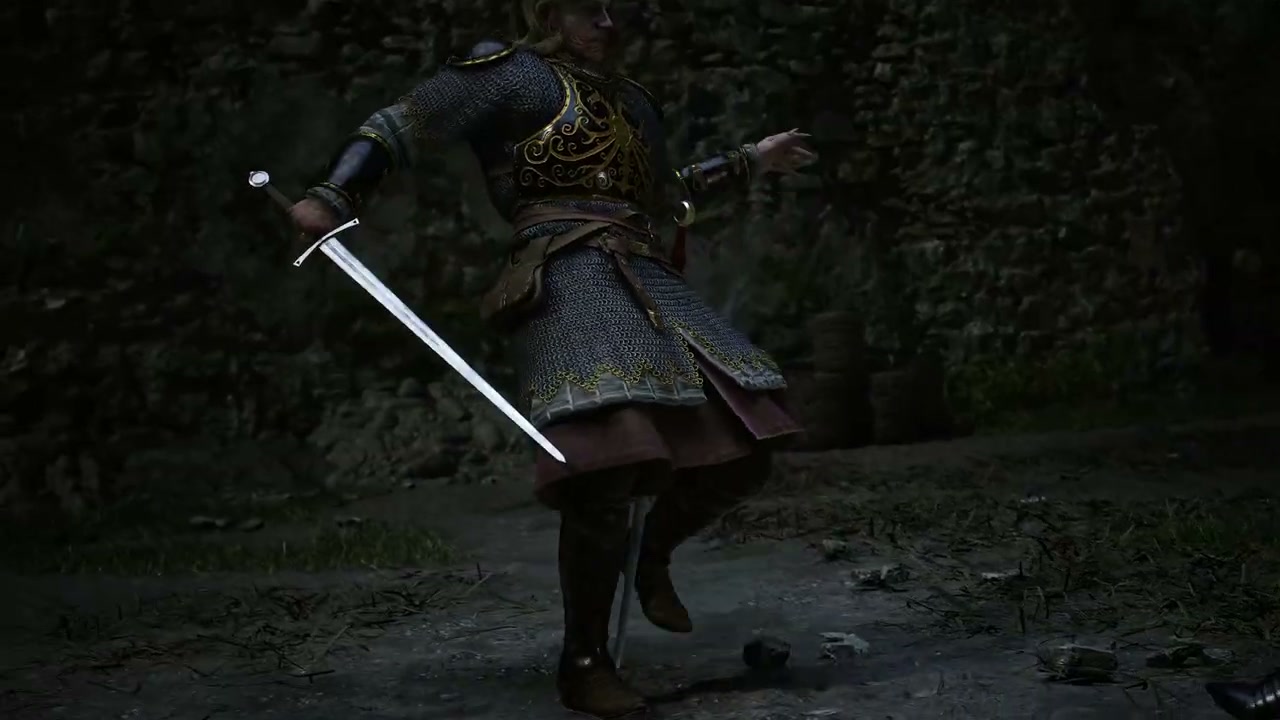
Ambrus during the pre-fight confrontation. (Source: YouTube — Nukov, @1:40)
Source note: This guide uses the supplied Nukov gameplay video. Its audio contains in-game dialogue rather than creator commentary, so the breakdown below reports only actions and UI text visible in the footage; it does not assign unshown skill names, rewards, weaknesses, or damage values. (Source: YouTube — Nukov, @0:00–6:42)
How to trigger
The clip reaches the duel after an extended face-to-face conversation with Ambrus. When control returns, the quest tracker reads The Gilded Gauntlet and the boss bar identifies him as “Ambrus, the Right Fist of the Knyaz.” The video does not show the earlier quest route, so it verifies the quest name and cutscene-to-combat transition only. (Source: YouTube — Nukov, @5:14–5:17)
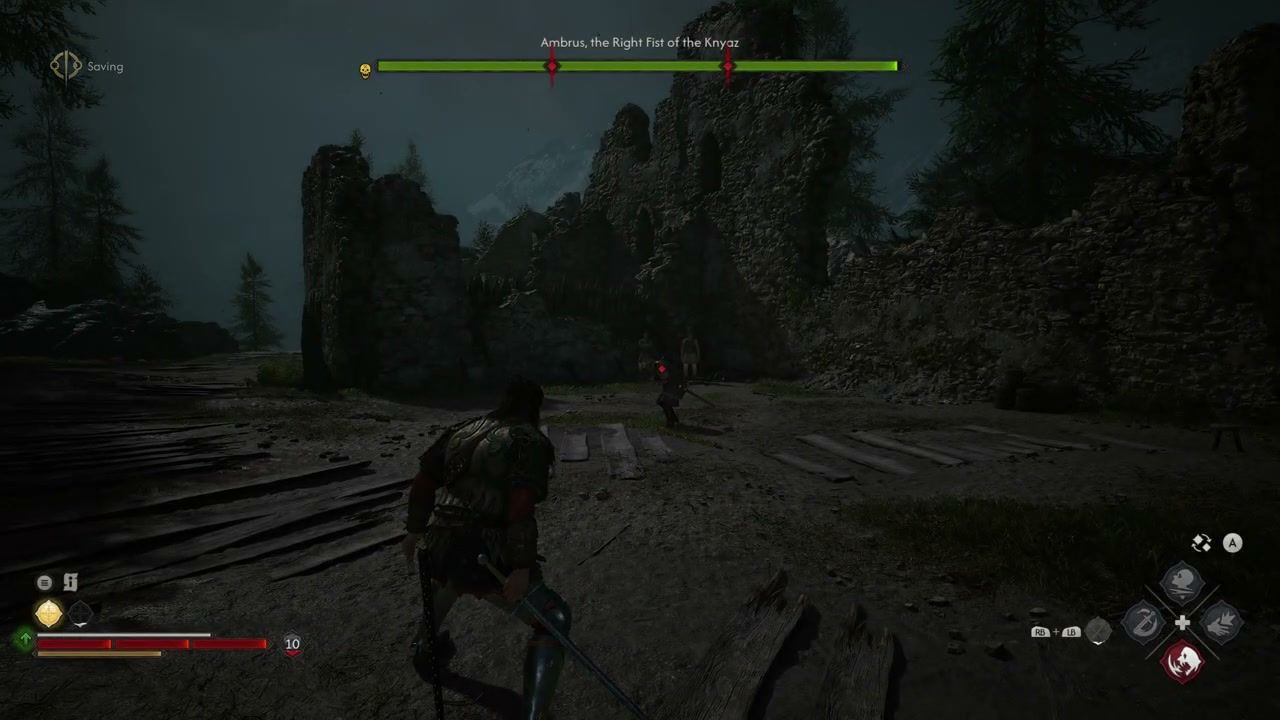
The duel opens in the ruined outdoor arena with the full boss bar visible. (Source: YouTube — Nukov, @5:25)
Fight breakdown
Opening exchange: Ambrus uses a sword at close range, while the successful run stays locked on, meets him for short exchanges, and then creates space instead of remaining directly in front of him. Re-enter after his immediate swing has passed rather than extending a long attack string. (Source: YouTube — Nukov, @5:16–5:34)
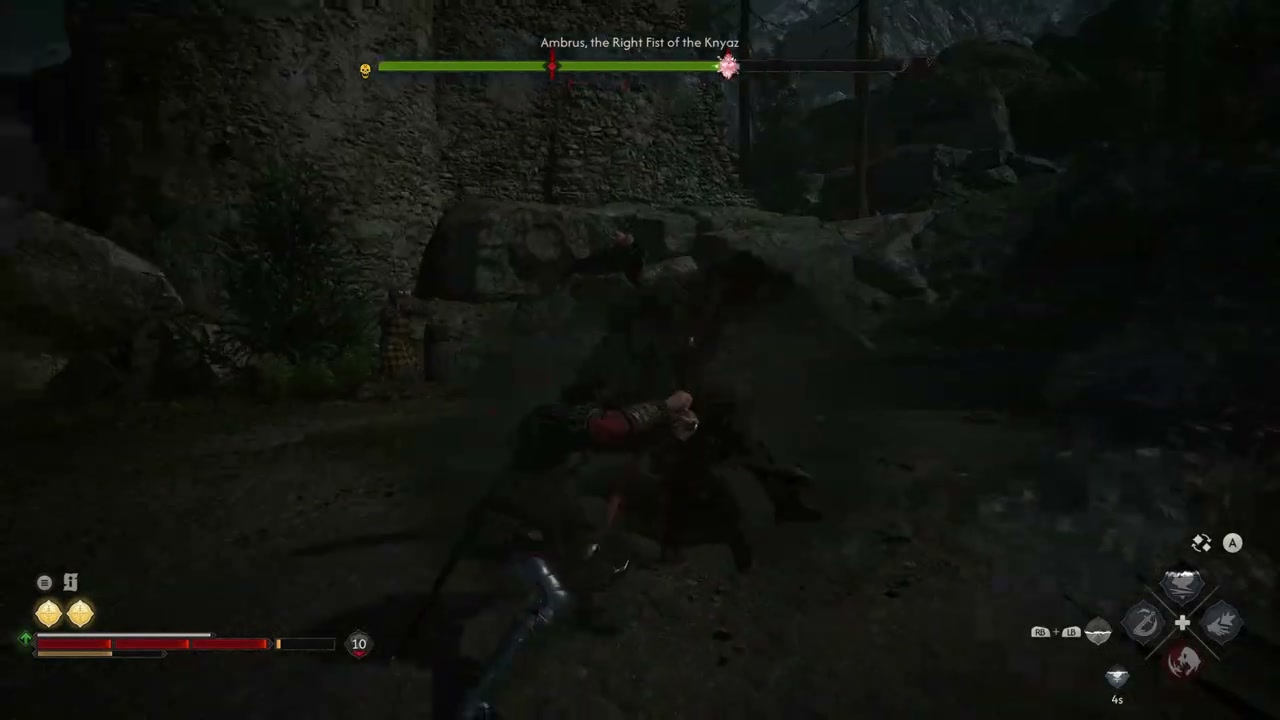
Mid-fight rhythm: The player repeatedly backs or rolls out, waits with Ambrus at several body lengths of distance, and closes again for a brief counter. That visible hit-and-disengage rhythm carries the fight through the middle of the health bar. (Source: YouTube — Nukov, @5:35–5:59)
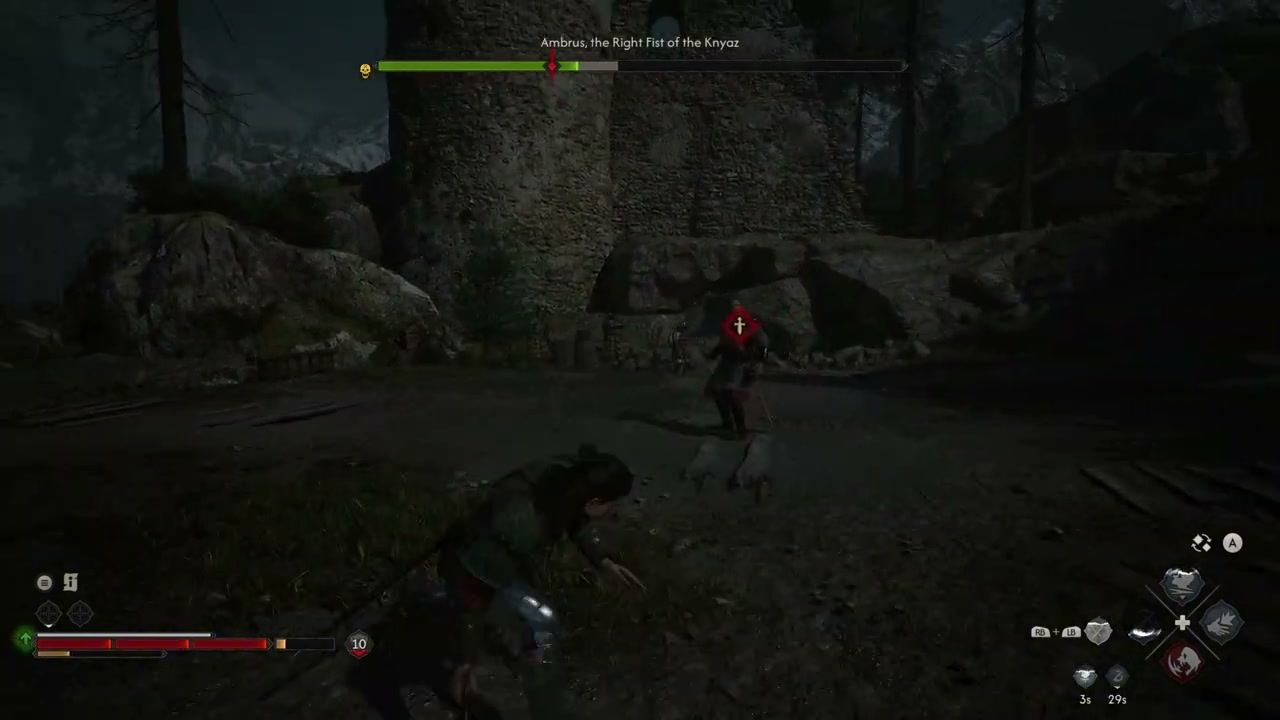
Late-fight pressure: At roughly the final third, the footage continues the same close-range pattern. A red visual effect briefly surrounds the combatants, but neither the HUD nor the audio names it, so this guide does not label it as a specific skill or boss mechanic. (Source: YouTube — Nukov, @6:08–6:13)
No verified phase two: Although the health bar contains marked divisions, the clip shows no phase-change cutscene and no clearly introduced second moveset. We therefore treat this recording as one continuous duel and do not invent a percentage threshold. Ambrus falls at the end of the same exchange loop. (Source: YouTube — Nukov, @5:16–6:26)
A short close-range exchange during the middle of the fight. (Source: YouTube — Nukov, @5:50)The player creates space before the final sequence. (Source: YouTube — Nukov, @6:15)
Recommended setup
A melee sword setup is the only loadout directly demonstrated by this clear. The player also activates HUD abilities during the duel, but the recording never opens the equipment or skill menus and never displays their names; we cannot responsibly recommend a named skill from this source alone. (Source: YouTube — Nukov, @5:16–6:25)
Loot
No item-drop, reward, or trophy notification is shown before the clip ends. The recording moves directly from the finishing exchange into a story scene, so loot remains undocumented rather than guessed from the video title. (Source: YouTube — Nukov, @6:26–6:42)
What NOT to do
Do not assume the clip proves a two-phase fight or a named weakness: neither appears on screen. For the demonstrated approach, avoid staying within sword reach after your own short sequence; the successful run repeatedly disengages before returning. There is no death attempt in the video, so no specific fatal mistake can be verified. (Source: YouTube — Nukov, @5:16–6:26)
The post-fight scene begins immediately after Ambrus is defeated. (Source: YouTube — Nukov, @6:40)
Bakir is one of Brencis's Boyars and a major vassal in the Court system. Reaching him requires disrupting his operations until Bakir's Anger meter is full and The Lunar Game becomes available. (Sources: Rock Paper Shotgun — “How to defeat Bakir”; ShowGamer — “Bakir and The Lunar Game.”)
Rebel Hunters:Matter of Honour, Silent to the Grave, and Smoke Them Out each cost 3 time segments. (Source: ShowGamer — “Bakir and The Lunar Game.”)
Transports:Curious Shipment and Fool's Gold each cost 3 time segments; both require intercepting the group on the road. (Source: ShowGamer — “Bakir and The Lunar Game.”)
Distilleries:Ends and Means, Coercion and Duress, and Offshoot each cost 3 time segments and end with the guarded distillery being destroyed. (Source: ShowGamer — “Bakir and The Lunar Game.”)
Pillories:Out of Love, Familiar Face, and Old Hand each cost 3 time segments and involve freeing a restrained prisoner after dealing with the guards. (Source: ShowGamer — “Bakir and The Lunar Game.”)
Once Anger reaches maximum, Farkas approaches Coen with a plan to enter Bakir's deadly competition at Lunar Manor. The Lunar Game only begins in the afternoon, so arriving early and accepting Farkas's wait consumes time that can instead be used elsewhere. (Source: ShowGamer — “Bakir and The Lunar Game.”)
Before the maze, take leaves from the bush in the gathering area and use them on the jug beside the Cockroach to poison his drink; speaking with the Porcupine can persuade him to let Coen pass later without a fight. (Source: ShowGamer — “Bakir and The Lunar Game.”) The maze itself is largely linear, with equipment available to loot along its route. (Sources: Rock Paper Shotgun — “How to defeat Bakir”; ShowGamer — “Bakir and The Lunar Game.”) Do not use vampiric abilities during the competition: they can expose Coen's identity and end the tournament in a fight against Bakir's cohort. (Sources: Rock Paper Shotgun — “How to defeat Bakir”; ShowGamer — “Bakir and The Lunar Game.”)
How to isolate Bakir in the treasury
After completing the maze, refusing the direct order to remove Coen's mask and steering the feast conversation correctly can make Bakir take Coen into the treasury without his guards. Choose the following intentions in order; ordinary white dialogue choices between them do not alter this route. (Source: ShowGamer — “Bakir and The Lunar Game.”)
Politely refuse to remove the mask, using the response that begins “I'm sorry.” (Source: ShowGamer — “Bakir and The Lunar Game.”)
Accept the offered drink with “With pleasure.” (Source: ShowGamer — “Bakir and The Lunar Game.”)
Give the short toast “Cheers!” (Source: ShowGamer — “Bakir and The Lunar Game.”)
Follow with the toast to friendship and good fortune. (Source: ShowGamer — “Bakir and The Lunar Game.”)
Say that Coen would rather die fighting than quietly in bed. (Source: ShowGamer — “Bakir and The Lunar Game.”)
Ask whether that is all and request the reward. (Source: ShowGamer — “Bakir and The Lunar Game.”)
Suggest that Bakir may want to eat any other contestants who are still alive. (Source: ShowGamer — “Bakir and The Lunar Game.”)
Completing that chain brings Bakir into the treasury alone, avoiding the version of the fight that includes all remaining guards. (Source: ShowGamer — “Bakir and The Lunar Game.”)
Fight breakdown
If Bakir is not isolated: Clear the henchmen before focusing on him; the group is mostly normal soldiers and includes a witch miniboss. (Source: ShowGamer — “Bakir and The Lunar Game.”)
Close range: ShowGamer describes Bakir as fighting primarily with his fists. (Source: ShowGamer — “Bakir and The Lunar Game.”)
Blood lines: One unblockable ranged attack sends multiple lines of blood outward and may repeat several times. Keep dodging sideways until the sequence is finished instead of stopping after the first line. (Source: ShowGamer — “Bakir and The Lunar Game.”)
Bird flock: His other unblockable ranged attack sends a flock toward Coen. Keep some distance and continue dodging to either side until the full sequence has passed. (Source: ShowGamer — “Bakir and The Lunar Game.”)
Source difference — encounter phases: All Things How labels the Beldam-and-guards crowd fight as phase one and Bakir's arrival as phase two. (Source: All Things How — “How to Defeat Bakir and Unlock The Mad Khan.”)
Source difference — Bakir's own moveset: ShowGamer says Bakir does not gain a significantly different moveset later in his personal fight and continues alternating between punches and the two ranged attacks. (Source: ShowGamer — “Bakir and The Lunar Game.”)
The community wiki describes the broader encounter as an Act II games fight built around crowd pressure and target switching, but notes that exact attack timings were still being mapped in its launch-window update. (Source: thebloodof-dawnwalker.wiki — “How to Beat Bakir.”)
Recommended setup
Coen enters the maze without his normal inventory and rebuilds the loadout from equipment found inside, so loot rooms before reaching the final confrontation. (Source: Rock Paper Shotgun — “How to defeat Bakir.”) Because vampiric abilities are forbidden during the competition, ShowGamer recommends relying on the sword and Swordmastery skills while the disguise must remain intact. (Source: ShowGamer — “Bakir and The Lunar Game.”)
Loot and rewards
After winning, Coen can kill Bakir normally or drain his blood; draining him unlocks the Shadowstorm Vampiric Ability. Regardless of that choice, Bakir's corpse carries the Legendary Medium Chestplate Bakir's Armour. (Source: ShowGamer — “Bakir and The Lunar Game.”)
The treasure room contains The Ring, a purple-gem ring inside a small chest on a shelf along the room's northern side. (Source: ShowGamer — “Bakir and The Lunar Game.”)
Give it to Farkas: He takes the ring and leaves; a later world event can reveal that he accidentally kills his own brother while using it. (Source: ShowGamer — “Bakir and The Lunar Game.”)
Keep it: Take the ring to Anca at the Crossroads inn when she is available. Accepting her offer to destroy it exchanges the item for an Epic Quick Fighter's Ring and completes the quest. (Source: ShowGamer — “Bakir and The Lunar Game.”)
What NOT to do
Do not provoke Bakir during his speech unless you intentionally want to face his entire cohort while poorly equipped. (Sources: Rock Paper Shotgun — “How to defeat Bakir”; ShowGamer — “Bakir and The Lunar Game.”)
Do not reveal Coen's vampiric abilities in the maze if you want to preserve the disguised route to the feast and treasury. (Sources: Rock Paper Shotgun — “How to defeat Bakir”; ShowGamer — “Bakir and The Lunar Game.”)
Do not tunnel into Bakir while the henchmen and witch miniboss remain active; clear them first if the treasury isolation route failed. (Source: ShowGamer — “Bakir and The Lunar Game.”)
Do not leave Bakir's corpse unlooted if a courtyard victory sends Coen straight into the treasury with Farkas; return for Bakir's Armour before moving on. (Source: ShowGamer — “Bakir and The Lunar Game.”)
Source-cited update published September 5, 2026.
The Almshouse Monstrosity (mini-boss)
Source note: This short account uses Fextralife and Method. Identity spoilers follow.
Location and quest
Find it in the basement of the blocked wing of Svartrau Cathedral's Almshouse. It is Radu transformed into a Muhron, and defeating it advances A Dubious Gift. (Source: Fextralife)
Fight breakdown
It attacks with claws and unrefined shadowsteps. (Source: Fextralife) Method calls it a mini-boss behaving like a Murohn; no additional phase sequence is asserted here. (Source: Method)
Outcome and loot
Fextralife's Drops field is “-”, with no item list recorded. (Source: Fextralife) Method nevertheless explicitly reports the Caretaker's Key after the fight. These are different levels of documentation, not evidence that the encounter drops nothing. (Source: Method)
Source-cited update published September 7, 2026.
Mihai, Patron Saint of the Cathedral
Source note: Location and combat details below were checked in Fextralife, Game8, Method, and GameSpot. The sword's condition and restoration chain were checked against VGC. The separately labelled PowerPyx observation comes only from search-result text; its page was not directly opened.
How to trigger and where to find him
Mihai is encountered during A Monk and a Saint, behind a wall in the Hidden Crypt of Svartrau Cathedral. Fextralife identifies him as the sword's original owner and says he was buried alive there. (Source: Fextralife)
Method's daytime route uses the cathedral's Golden Chalice to identify his symbol and the library to locate his burial place. Its nighttime route instead investigates a fresco from the cathedral scaffolding and a dead thief beneath the area near the Almshouse. Both routes lead back to the side courtyard. (Source: Method)
Method identifies the entrance as the fourth grave from the left. Inside the crypt, follow the moaning to a wall, inspect it, and tear it down to reveal Mihai and begin the fight. (Source: Method)
Fog and teleporting: Game8 confirms that Mihai uses his sword, conjures fog that obscures visibility, and teleports; watch behind Coen when he relocates. (Source: Game8)
Lunging attacks: GameSpot describes rapid, unblockable attacks when Mihai lunges, followed by a separate fog sequence with a flanking strike. Treat the lunge as a dodge cue rather than attempting to guard through it. (Source: GameSpot — article body accessed)
Reading the remaining attacks: Method recommends watching for surprise attacks when he disappears into smoke and using directional blocks defensively. That general advice does not override GameSpot's specific warning about unblockable lunges. (Source: Method) (Source: GameSpot)
Outcome, loot and Forge It Anew
Completing the encounter's quest awards the Broken Sword of St. Mihai. VGC identifies this item as the sword hilt: the victory does not hand over the finished legendary weapon. (Source: VGC)
For Forge It Anew, collect three Silver Sword Shards and bring them with the broken sword to the Uriashi hermit at Uriashi Hermitage. Reforging produces the Restored Sword of St. Mihai; completing the subsequent cave combat challenges and tempering sequence produces the Imbued Sword of St. Mihai. (Source: VGC)
Fextralife's separate Drops field contains “-”, meaning that field does not document an item list. The quest-reward account above comes from VGC rather than an invented wiki drop table. (Source: Fextralife) (Source: VGC)
Source-cited update published September 7, 2026.
More bosses will be added to this dawnwalker boss guide as the community confirms them. Last verified: September 16, 2026.
Frequently Asked Questions
How many bosses are in The Blood of Dawnwalker?
The full boss list is still being documented after launch. Confirmed so far include Brencis, Xanthe, Ambrus, Bakir, the Almshouse Monstrosity and Mihai — and this page will keep the count updated. Check back often — this dawnwalker boss guide is updated daily after launch.
Who is the hardest boss in the game?
Community consensus is still forming. Early press has highlighted Brencis and the late-game encounters, but no verified difficulty ranking exists yet.
Are bosses different during the day and at night?
Because Coen's daytime and nighttime kits are completely different, some fights are dramatically easier depending on when you trigger them. We will document this per-boss as testing confirms it.
Is Brencis the final boss?
Brencis is the central antagonist tied to the 30-day story deadline. Whether the final encounter is him or something else is a spoiler — treat with care.
What is the best Dawnwalker boss guide?
This site is an unofficial, continuously updated Dawnwalker boss guide. Any fight strategy not documented by a checked source is marked as a source gap.